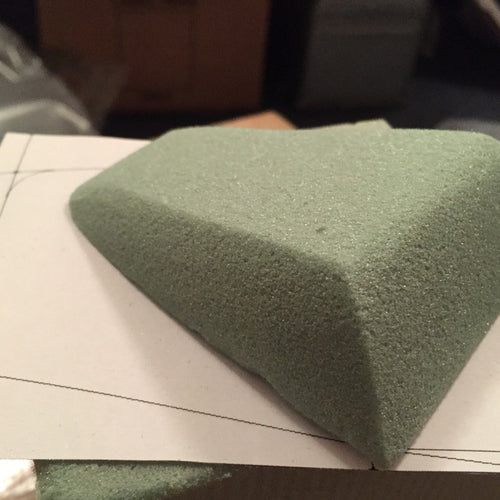
Following up on the previous post about patterns and dies, the steel versions have arrived from the die makers. Making dies is a long tradition best done by master craft people, which is why I use a small business out of Texas for almost all of my die work. Why Texas? Some of the most complicated dies are used to cut leather used for horse saddles, Texas still has lots of horses, and so the tradition and skills there run a bit deeper than in Silicon Valley!
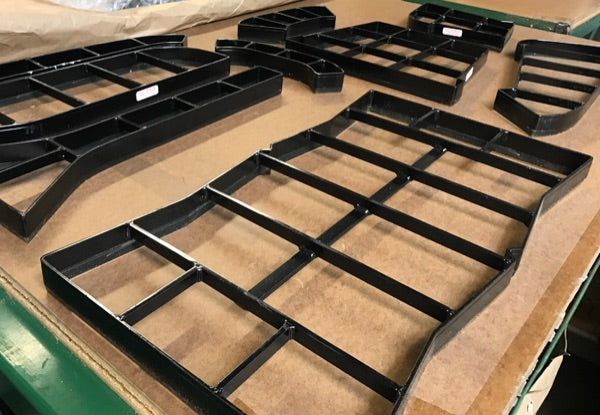
That said, they’ve modernized to the point that I can send them die lines output from Illustrator which get CNC cut onto a board which is used to shape the steel.
When my dad asked me, "How long does it take to make each pack?", I had to honestly say I didn’t know yet. More quizzical than accusatory, he replied with a look that seemed to say- “Isn’t that something you would know?” In fact, I did know how long it took to make some of Slim Pack prototypes… they ranged from 3 to 10 hours each and have cost up to $1000 for a single prototype just in labor. But this is because changes and refinements are being made during the construction process. New patterns are being made, production documentation is being generated, and sometimes it’s simply exploration. On many occasions, we would produce 3 prototypes at once with 3 different ways to solve a problem, so that we could compare them.
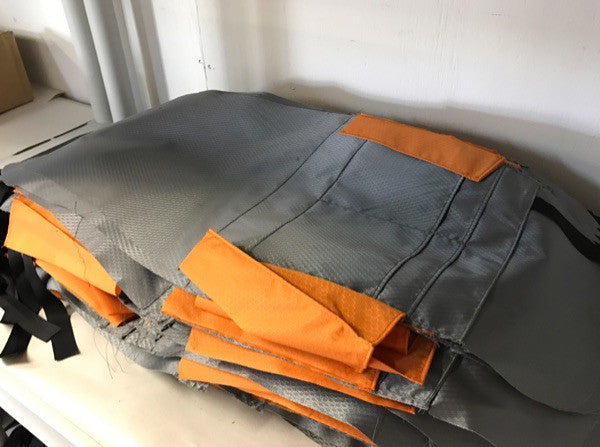
During production, the challenge is to systematize and standardize the process in order to improve efficiency. Meanwhile, since we’re using such expensive materials, we also need to reduce mistakes as much as possible at each step in the production process. This was a large reason for investing in producing dies for each piece of soft shell material. Normal materials are much easier to cut and the penalty for error is a lot lower. If you make a mistake at the time of cutting, you’re only out a few dollars for the cost of the fabric. But if you make a mistake cutting layers of Soft Shell material, it could be a loss of a few hundred or even a few thousand dollars.

To further optimize efficiency, the backpack production is separated into individual components. For example, all of the interior front pouch ripstop nylon can be cut and assembled to produce the pockets. The key loop and clip is also attached at this stage.
Meanwhile, the shoulder straps, back, sides, front and zippers can each be produced concurrently in batches. This also helps with quality since each individual assembly can be inspected before it’s included into the bag. Any mistakes are isolated to that particular piece and only perfect pieces are used in the final pack.
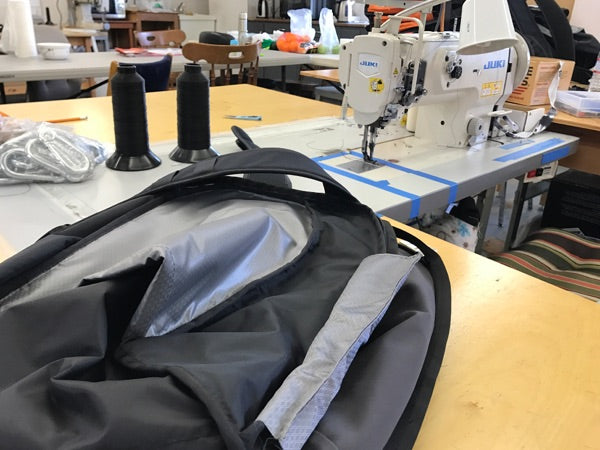
The final assembly step then goes rather quickly… and can honestly be put in the hands of the most experience seamstresses. Many of the top seamstresses in the shop have 12-15 years experience with this same company and have been sewing much longer than that. They have an amazing ability to maintain both speed and focus.
The packs go through the shop in batches like this… starting with 10 or so to get things moving, then 50 to refine the processes, then 100, 250, and 500.
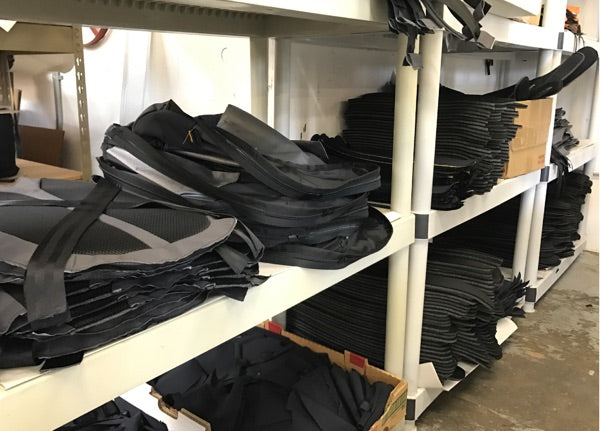
The goal is that each batch takes less time than the last while quality is maintained or improved. And as the team becomes more and more familiar with the produce, optimizations continue, sometimes for months.
So how much time does it take to make one bag, anyway? Well, this is calculated per batch according to “shop time” and the number of sewers and cutters allocated. Sometimes time studies are conducted for each step and then divided out. So once the first batch of 50 are done, I'll have an idea for those, but hopefully the next batch will go more quickly, and we'll have a really good idea of how to improve.
Is there something you’d be interested in learning about the process to make a Slim Pack? Let me know in the comments below...
0 Comments